In the article let us look at Adding new Disk to a Windows Virtual Machine.
To add a new disk to Azure VM goto
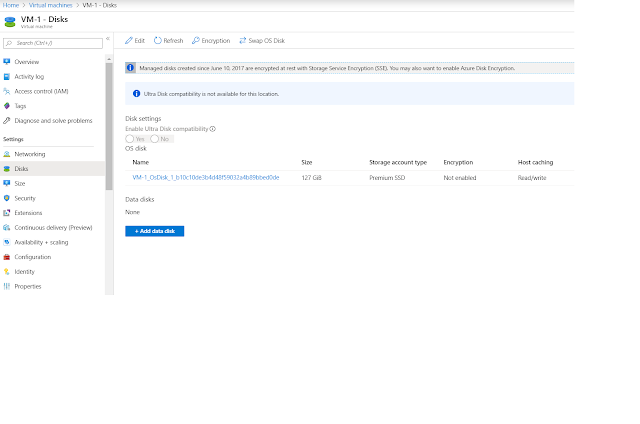
Home-->>Virtual Machines-->> VM1(Select the VM)-->> Disks. Select the option of
Add data disk as shown in the below screenshot.
 |
Add Disk Option with in the Virtual Machine.
Select Add data disk option if you don't have a disk readily available it will show below error saying No managed disks available.
To add new disk expand the drop down box under Name, and select Create disk option for disk creation as shown in the below screen shot.
Provide Disk name, select Source Type as None of Managed Disks. By default Azure assigns 1024 GB (Premium SSD) disk. You can change it by going to the option Change size.
Maximum Size of the disk that can be created as of today i.e., 7th Nov 2019 is 32TB.
Here we are changing the Disk Size to 4 GB which is minimum size (Custom Disk Sizing).
Click on Create option to create a disk for you.
Then you see newly created disk as below under LUN 0. Save the configuration by using Save button. This new disk of 4 GB will available as raw disk within the OS.
Login to VM in our case VM1 and go to Disk Manager (Diskmgmt.msc) you will see a raw disk (Disk2) as shown below.
Go to newly attached raw disk and create a NTFS Volume, and you have your 4 GB disk available for use.
|
Very Nice Video Sir,Thank you for sharing.
ReplyDeleteDo we have any limitations for Disk size?
Nice info ,Thank you very much sir for sharing ..
ReplyDelete